Group Session
Guide
Group Session Onboarding Guide
This guide helps clinicians create an account, complete onboarding, and start a group session in Scribing.io. It is written as a quick reference for first-time users.
1. Create Your Account
Visit the app
Go to app.scribing.io in your browser. If your organization has already invited you, sign in using the same email address that received the invitation.
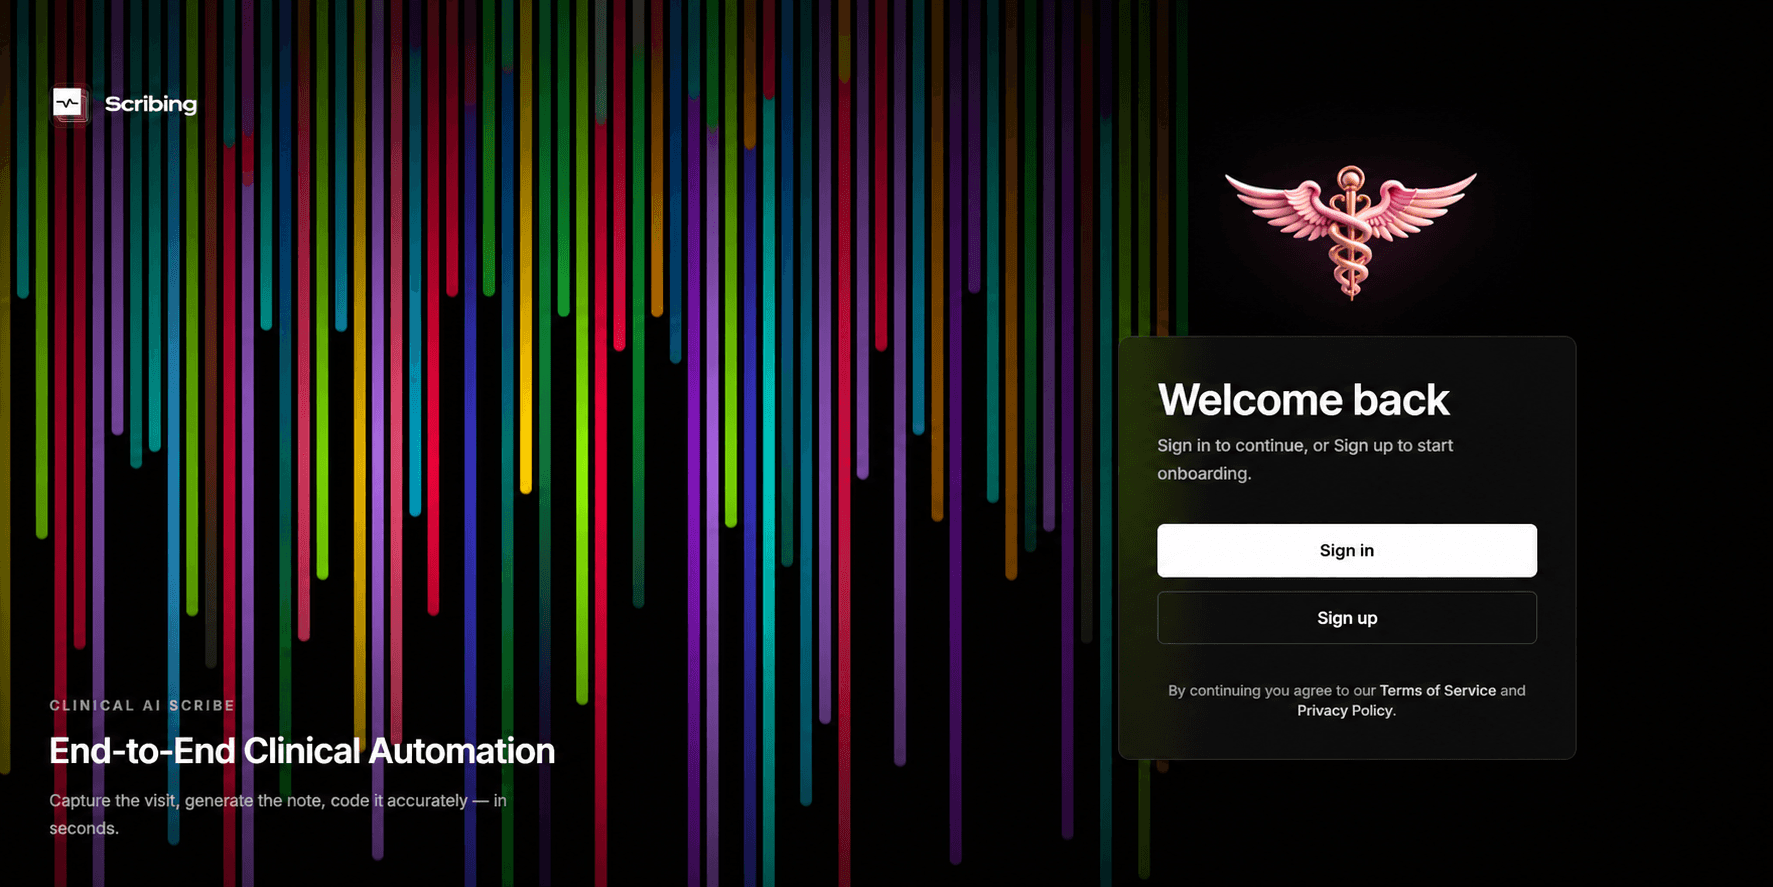
Choose your sign-up method
Select Sign Up to create a new account, or continue with your Google account.
Enter your details
If signing up with email, enter your email address and create a secure password, then click Continue.

2. Verify Your Email
Check your inbox
Scribing.io sends a six-digit verification code to your email.
Enter the code
Copy the code into the verification screen. If it doesn't arrive within a few minutes, check your spam or junk folder, or click Resend.

3. Complete the Onboarding Questions
Profile details
Select your specialty and title, and enter the name that should appear on notes.
Practice details
Add your clinic name, location, practice size, EHR, and your role in the organization.

Finish onboarding
Click Finish Onboarding to open your dashboard.
4. Add Your First Patient
Open Patients
From the left sidebar, click Patients.
Add a patient
Click Add Patient and enter the patient's name and age, then save the record. You'll only need to do this once per patient.
Go to Scribe
Return to the sidebar and click Scribe to begin your first session.

5. Start a Group Session
Switch to group mode
From the Scribe page, click Switch to Group Session.

Give a voice briefing (optional)
Use Dictate Briefing or Upload Voice Note to tell Scribing.io who is attending. Simply say each participant's name — this helps the model recognize and separate speakers accurately once the session starts. This step is optional but strongly recommended for groups.

Select a note template
Choose the template you want the session to follow (e.g., SOAP, DAP, CBT, DBT), or upload your own.
Confirm participants
Review the participant list Scribing.io detected from your briefing. If anyone wasn't detected, add them manually.
Start recording
Click Start Recording to capture the session live, or upload an existing audio file in a supported format such as MP3 or WAV.
6. Review the Transcript
To edit the FAQ, first open the FAQ component. you’ll see all questions listed as layers. Select each question/layer and update the text as needed - changes will automatically apply across all pages.

Check the review tabs
Once processing finishes, use Draft Notes, Full Transcript, and Speaker Review to inspect the session.
Fix anything flagged
Correct any flagged items, including speaker names or transcript issues, before moving on.
Finalize notes
Click Confirm & Finalize Notes once everything looks correct.
7. Review and Save the Generated Notes
Review each participant's note
Scribing.io generates an individual note for every participant, plus a group session overview. Open each patient's note and review the subjective, objective, assessment, and plan sections.

Finalize notes
Save the notes to the database, or push each patient's note to your EHR.
Note: For group sessions, notes are pushed to your EHR one patient at a time — this ensures each note lands in the correct patient's chart.
Helpful Notes
Group Session mode is used whenever multiple people are part of the same session.
The voice briefing greatly improves speaker recognition, but it isn't required every time.
If participants aren't detected automatically, you can always add them manually.
You can review and edit any note before saving or exporting it.
Each participant receives their own individual note once the session is finalized.
Past sessions for each patient are stored under their profile, so you always have a full session history.
Support
If anything is unclear, reach out at support@scribing.io, or book a support call directly with the Scribing.io team.